Guide for Making Indoor Gardens with Young Gardeners
RESOURCES AND STARTING INSTRUCTIONS
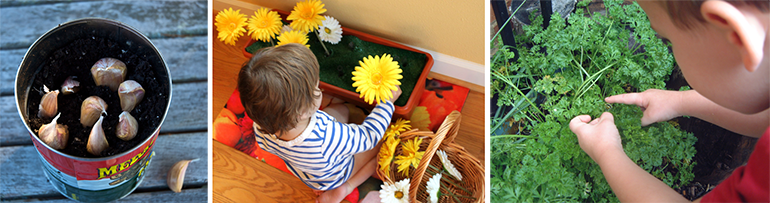
SEEDS
 You can purchase seeds at a garden center or online. The activities in this Guide call for using corn, carrot, radish, sunflower, various beans, parsley, tomatoes, etc. There are a lot of different types of seeds but it basically does not matter which company or which variety you use.
Most packages of seeds have printed on them different information that tells you what you need to know about growing those seeds. You will find a map that lists different growing zones, but you can ignore this since you are gardening indoors. You will find “planting depth", “plant spacing", “sprouts in”, and “flowers in” which tell you everything you need to know.
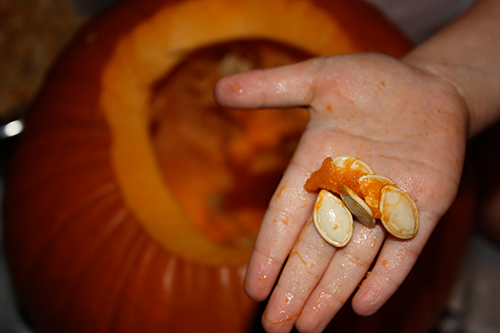
You can also collect seeds from fruits and vegetables. Tomatoes, squash, and pumpkin are easy plants from which to extract seeds. Simply cut open and scoop out seeds with a spoon. Other plant fiber will come out with the seeds. Separate as much as you can from the seeds and place seeds (and whatever else is still attached to them) in a saucer and leave in shady spot to dry. After a few days, you will be able to separate the rest of the plant pulp and fiber that are still attached to the seeds. Let dry completely (for 5-7 days) and place in a plastic bag. Push out as much air as possible and tie the bag or zip lock.
One more point: Frequently, it is easy to grow seeds if you soak them in a cup of water overnight before planting them. Other seeds, like avocado, seem to grow more easily when we scratch them a little with a nail file. Try different approaches and keep notes on what works best for you.
SOIL
 Purchase your soil at a garden center. You can use soil from outside but chances are likely it is going to have bugs in it. Garden center soil has had the bugs removed. To start, buy a couple of 10 pound bags of potting soil – either with fertilizer added or without and add your own organic fertilizer. What’s the difference? Commercial fertilizer has more than nutrients for plants. Added to them to “fill out” the product is anything the companies want to use. This has included waste sludge in the past. There are no regulations about what fertilizer may include. Organic fertilizer basically means some type of manure (also known as dung). It has been heat sanitized and is no different from the manure in which all commercial mushrooms are grown. If you decide to purchase organic manure to add, use 2 parts of soil to 1 part of manure (e.g., 2 buckets of soil to 1 bucket of manure). Just mix it with a spoon or a garden tool.
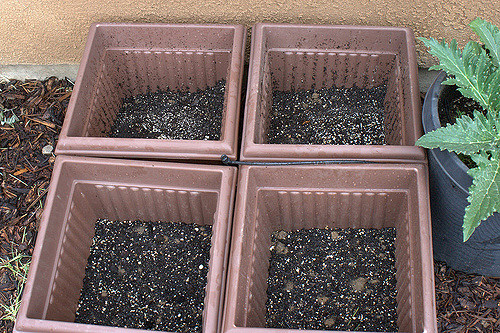
PLANTING CONTAINERS
 This Guide calls for using a variety of planting containers but the key is for you to realize that anything can be used to start seedlings or to grow larger plants. What a lot of people use is called “Peat Pots.” These pots are made from pressed peat moss. When you use them, you fill with soil and plant the seed. When the seed starts to grow and the plant has to be put into a larger container, it does not have to be removed from the peat pot. Instead, you pinch the peat pot a few times to break it a little and then plant the entire peat pot with plant into the new container. The peat breaks down and the plant's roots grow through it into the new soil. You will also want to purchase several large aluminum baking pans (turkey size) and at some point you will probably buy some clay or plastic planting containers. But, you can use anything from coffee cans to plastic cups to bathtubs – okay, bathtubs may be a little too much for indoor gardens.
The key to using containers successfully is to be sure they have a way to drain excess water well. Peat pots do this automatically. With aluminum pans, plastic containers, coffee cans, etc., you have to poke holes to let water drain from them. Use knife or screwdriver. Make a lot of smaller holes rather than fewer large ones. Large holes let too much soil wash out of them.
Also place a layer of gravel (pea to marble size) on the bottom of planting containers before adding soil. This also lets water drain better from the soil. Remember that it is very difficult to over water plants unless they do not have good drainage.
NOTE: Fill your planters, whether starting peat pots or huge trashcans, almost but not quite to the top of the container. If you fill to the top, soil will overflow the container when you water.
LIGHT CONDITIONS
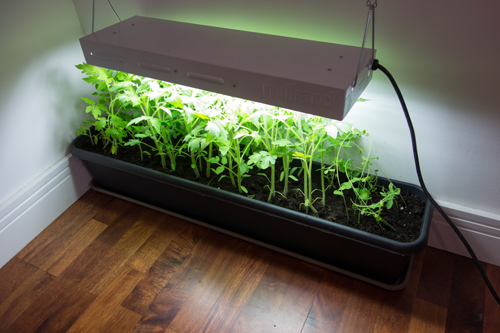 All plants need light but not until they start to germinate (which means they start to grow roots or little stems). If you ever left potatoes or onions in a sack in your kitchen, you know they will start to grow roots – with no light. Growing plants do need light and some plants need more than others. Here’s a rule of thumb: if a plant produces a fruit or vegetable, it will eventually need direct sunlight to be able to produce its fruit. Herbs require less light. In most rooms, placing plants on window ledges or on tables in front of windows works well. Florescent lights have a very close spectrum of light to that of grow lights, which is why so many offices with no windows still sport green plants. Florescent lights are especially good for starting seedlings or growing plants between 6 – 12 inches high.
NOTE: If you live in an area of the country with cold winters, be careful that plants next to windows do not get cold or they will die. If your window is not well insulated, put your plants on a table by the window rather than in the window.
You can also invest in special light bulbs called Grow (or Gro) Lights. You will need to buy a lamp in which to place it. I favor the kind of clip-on light I use over my bed for reading. The clip allows you to place the light exactly where you need it. A 150 Watt bulb should cover an area of plants 2 feet by 2 feet; a 250 Watt bulb should cover an area 3 feet by 3 feet. Position your light high enough above the plants to cover the correct amount of area. Most plants like to have an 8 hour growing cycle so you may also want to purchase a timer to turn on the light when class is over and automatically turn it off 8 hours later. This will make it possible to work with the plants without worrying about your children touching a hot light bulb.
You may need to use a heat lamp if your room is too cold to keep your plants from freezing. You can purchase heat lamps and clip on light fixtures at any pet store. You will have to experiment with how high above the plants to place it and how many are necessary. I trust you will share what you learn on our Listserve.
WATERING
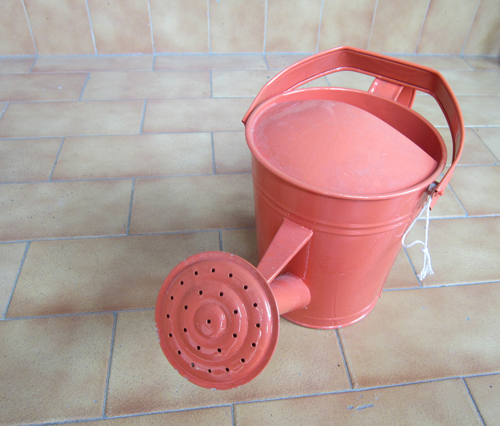 Watering is no great mystery. Most people who cannot grow healthy plants make the mistake of watering them until they need a snorkel or treating them like camels that do not need water for weeks. The rule of thumb on watering is to water plants when their soil feels dry. The best way to keep from over watering plants is to be certain that there is excellent drainage. This means poking holes in the bottom of the container and putting a level of gravel or rocks in the bottom.
NOTE: When using peat pot planters, it helps to fill them nearly to the top with dirt and put them in a saucer of water for a day. The water is absorbed into the soil through the organic peat.
INDOOR GARDEN TOOLS
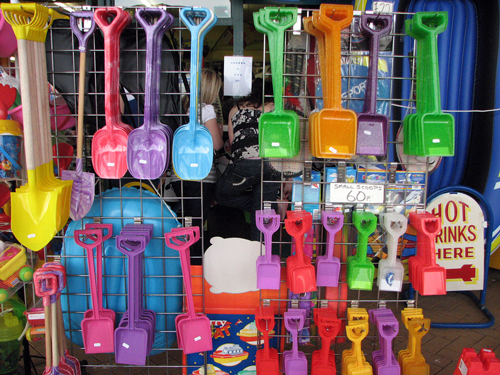 Everything you need you can find at home. I like using tablespoons for mini-shovels to transfer dirt into planting containers -- and children can use them safely. However, it is fun for children to see a variety of garden tools such as little shovel spades, watering cans, large garden tools (rake, hoe, shovel, etc.) and work gloves. You may be able to find child-size tools and gloves in the toy departments of Target or WalMart. Extra containers for storing and moving dirt, little wooden stakes, etc. are accessories you can decide if you want after you get further into your planning.
OTHER RESOURCES
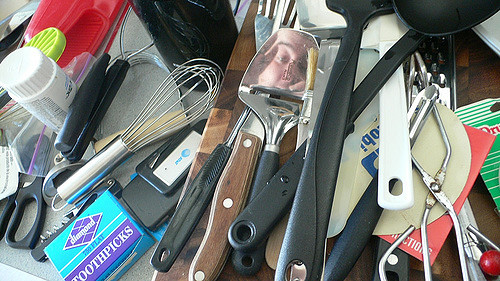 Check each activity for such needs as plastic wrap, Ziploc bags, yarn, toothpicks, clear plastic cups, etc. All of the miscellaneous resources you need are easy to acquire.
NOTE: All of the activities require you to have resources ready. Some activities require starting seeds or plants weeks before you need to use them. Please read activities well in advance so that you will have what you need when you need it.
Back to top